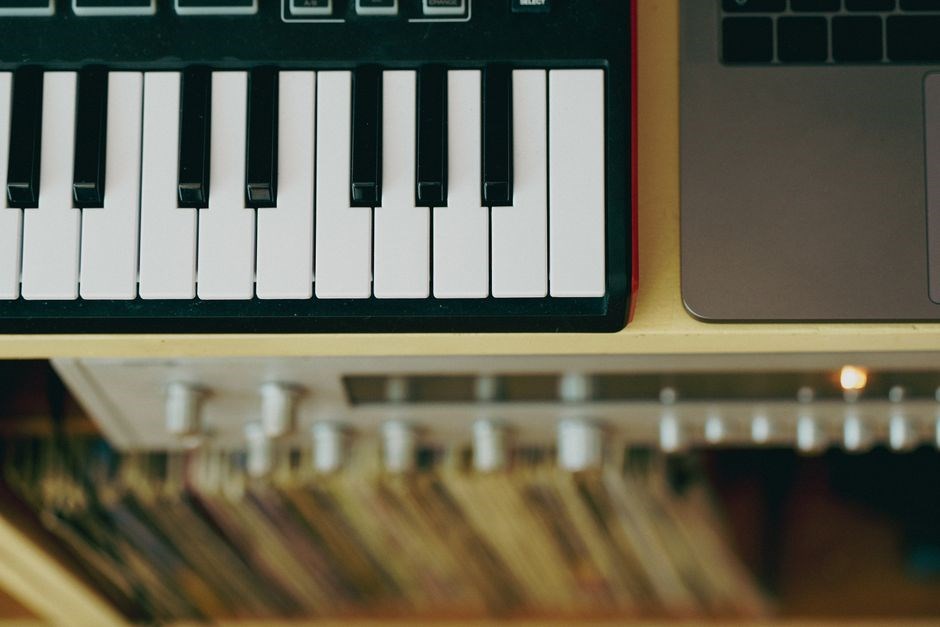
MIDI, the Musical Instrument Digital Interface, lets devices communicate musical data. It stores notes, timing, and expression, enabling virtual instruments and hardware to sync. Learning MIDI opens creative control, editing, and automation in modern studios. It is vital.!
Understanding MIDI Protocol and History
MIDI, first introduced in 1983, was designed to allow electronic instruments to communicate. The protocol uses 16 channels, each capable of transmitting note on/off, velocity, pitch bend, and controller data. Devices send 7‑bit values (0‑127) over a serial bus at 31.25 kbaud. The simplicity of the protocol made it quickly adopted by synthesizers, drum machines, and later by computers. Over the decades, MIDI evolved: MIDI‑X, MIDI‑T, and the modern MIDI‑USB standard extended bandwidth and added features like SysEx for manufacturer‑specific messages. Today, MIDI remains the backbone of digital music production, enabling real‑time control of virtual instruments, sequencing, and automation across software and hardware. Understanding its message structure—status bytes, data bytes, and running status is essential for troubleshooting and creative manipulation. By mastering the protocol, producers can harness expressive performance data and integrate diverse gear into a unified workflow. In addition to core messages, MIDI includes System Exclusive (SysEx) packets that allow manufacturers to send custom data, such as patch changes or device configuration. SysEx messages begin with 0xF0 and end with 0xF7, encapsulating a payload that can be up to 256 bytes long. While SysEx can be powerful, it is often ignored by simple DAWs, leading to compatibility issues. MIDI is essential!!
Setting Up Your MIDI Environment
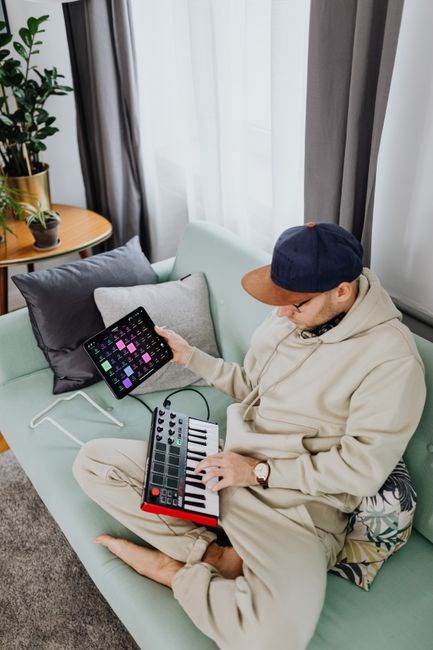
Choose a DAW that supports MIDI, install a virtual instrument, and configure your MIDI interface. Open the DAW’s preferences, enable the MIDI input port, and assign it to the track. Test by playing a note to confirm connectivity.
Choosing DAW and Virtual Instruments for MIDI
When selecting a digital audio workstation, prioritize robust MIDI support, low latency, and a flexible piano‑roll editor. Popular choices include Ableton Live, Logic Pro, Cubase, and FL Studio, each offering native instrument libraries and third‑party plug‑ins. Native instruments such as Logic’s ES2, Ableton’s Operator, or Cubase’s Groove Agent provide high‑quality sound with minimal CPU load. For deeper sonic palettes, consider VSTi libraries like Native Instruments Kontakt, Spectrasonics Omnisphere, or Arturia’s V Collection. Ensure the DAW’s MIDI routing allows multiple outputs so you can send separate instrument tracks to distinct virtual synths or hardware. Configure the DAW’s MIDI preferences: enable the USB or MIDI interface, set the correct input port, and assign the controller’s channel if needed. Test by playing a simple scale; the piano roll should display notes, and the virtual instrument should respond in real time. If latency is noticeable, tweak buffer size or enable the DAW’s “Low Latency” mode. Finally, keep your virtual instrument libraries updated; many manufacturers release patches and new sounds that enhance creative possibilities. By combining a DAW with a versatile virtual instrument suite, you create a powerful, flexible environment for MIDI composition, editing, and performance. Additionally, many DAWs offer built‑in arpeggiators and step sequencers that can be triggered via MIDI, expanding rhythmic possibilities. Remember to label each track clearly, as this aids navigation during complex arrangements. You can now create complex arrangements with precision daily.
Connecting MIDI Controllers and Devices
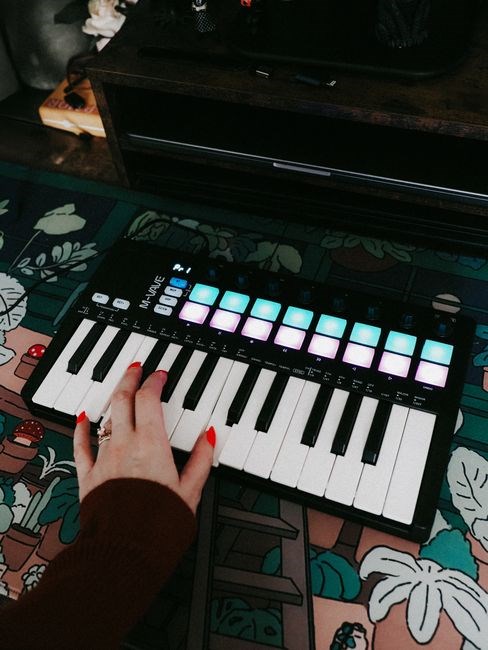
Connect a USB or MIDI‑to‑USB interface, then enable the port in your DAW’s preferences. Assign the controller’s channel if needed, and test by playing a scale; the piano roll should show notes and the virtual instrument should respond. Set each track channel for routing today.!
Setting Up MIDI Ports and Preferences
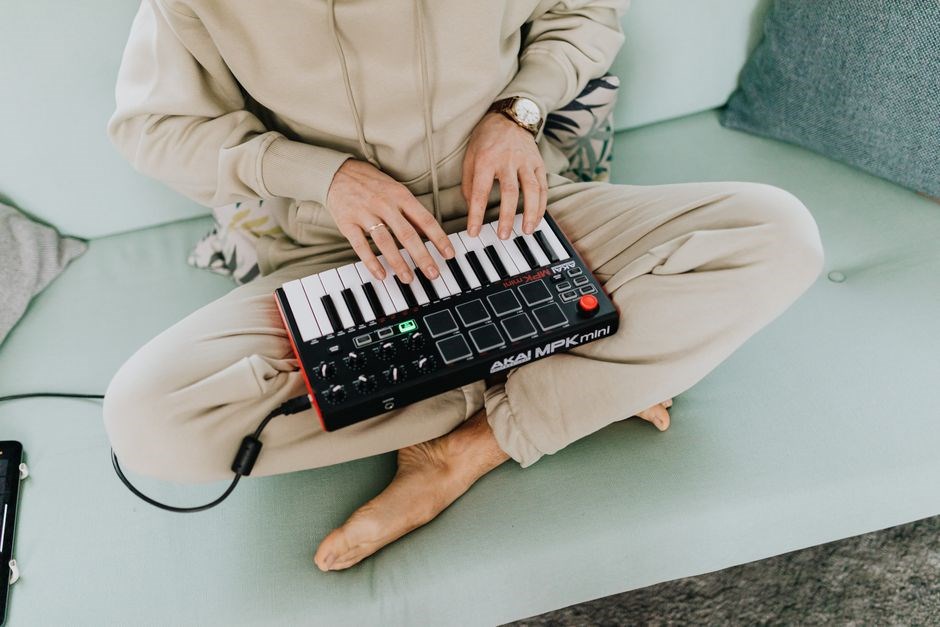
First, open your DAW’s audio/midi settings. Locate the “MIDI” tab, where you’ll see a list of available input and output devices. For USB controllers, the device should appear as “USB‑MIDI” or similar. Enable the input by checking the box next to the controller name. If you’re using a traditional DIN‑5 cable, make sure the interface’s input port is selected and the “MIDI In” option is turned on. After enabling the device, click “Apply” or “OK” to confirm changes. Next, configure the channel routing. In most DAWs, you can assign a specific channel number to each track; this ensures that the controller’s messages are directed to the correct virtual instrument. Some programs allow you to set a “Master” channel that captures all incoming data. If you want to use multiple controllers simultaneously, assign each one to a unique channel or use a MIDI router plugin to merge streams. Finally, test the setup by playing a few notes. The DAW’s piano roll or MIDI editor should display the incoming events, and the selected virtual instrument should produce sound. If no sound is heard, double‑check the output routing in the track’s mixer section and ensure the volume fader is up. Once the ports and preferences are correctly configured, you’re ready to record or program MIDI data with confidence. All these settings can be saved as a template for future projects, ensuring consistency across sessions. Remember to back up D prefs to avoidlosin configurations!!.
Recording MIDI Performance
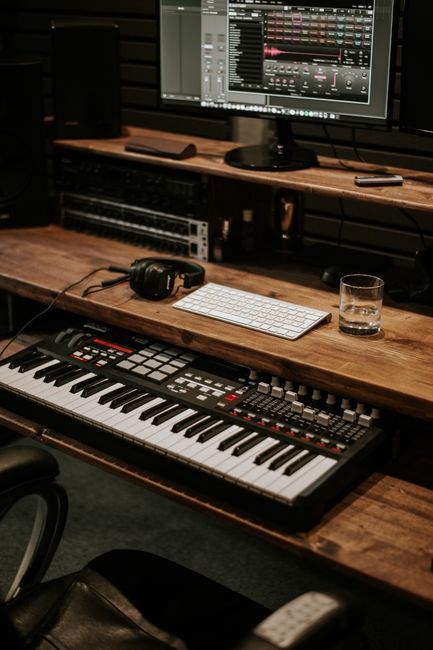
Arm a track, hit record, and play. MIDI captures note data, velocity, and timing. After recording, you can edit notes,quantize, or program new sequences. The workflow mirrors audio recording, but you retain full control over each note
Recording Techniques: Real-Time vs. Programming
Real‑time recording captures a live performance in one take. The musician arms a track, hits record, and plays the MIDI controller. The DAW logs every note, velocity, and controller change as it happens, giving a feel that can be tweaked later. This method is ideal for expressive solos or when a performer’s nuance matters. It also allows for on‑the‑fly adjustments: if a note is too high or a groove feels off, the musician can correct it, and the DAW will store the corrected data.
Programming, on the other hand, involves manually entering notes into the piano roll or using step sequencers. This approach is perfect for composing complex patterns, building layers, or when a rhythmic structure is required. Programming gives full control over every parameter, enabling the producer to craft intricate textures that would be difficult to perform live. It also facilitates iteration; a change in a single note can be made instantly, and the entire sequence can be copied or duplicated across tracks.
Both techniques can be blended. A producer might record a rough groove in real time, then program additional layers or correct timing issues. Many studios use a workflow: record the main part, program accents, and polish the track soon with quantization fast and automation. The choice depends on the desired outcome, the skill set of the performer, and the project’s time constraints
Editing and Polishing MIDI
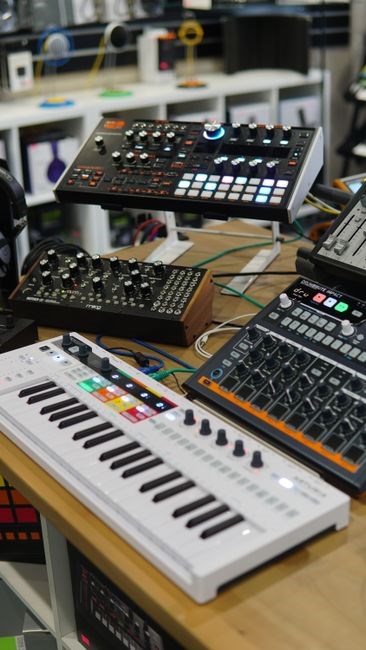
Use the piano roll to fine‑tune notes, adjust velocities, and trim lengths. Quantize to clean timing, transpose for key changes, and split to isolate phrases. Automation of CCs adds expression, while layering instruments enhances depth.!
Editing in Piano Roll: Quantizing, Transposing, and Splitting
Quantizing aligns notes to a grid, ensuring rhythmic precision. Select a resolution—1/4, 1/8, or 1/16—and apply to the entire track or a selection. This process corrects human timing errors while preserving expressive velocity variations;
Transposing shifts all notes by a fixed interval, useful for key changes or vocal tuning. Use the transpose tool to move up or down semitones; the piano roll will automatically recalculate note pitches and maintain relative intervals.
Splitting divides a continuous MIDI region into separate clips, allowing independent editing and automation. Highlight a segment, use the split command, and then adjust each clip’s start/end points, velocity envelopes, or apply different effects. This workflow keeps the timeline organized and facilitates complex arrangements.
Velocity curves let you sculpt dynamics directly in the piano roll, creating crescendos or sudden accents without re‑recording. The length tool trims note tails, preventing unwanted legato or staccato. Layering multiple MIDI clips of the same instrument, each with distinct CC data, produces rich textures. Remember to lock the track when making bulk edits to avoid accidental changes.
Quantize the roll to tighten grooves, swing for feel, and use CC automation to tweak expression on the fly!!
Advanced MIDI Manipulation
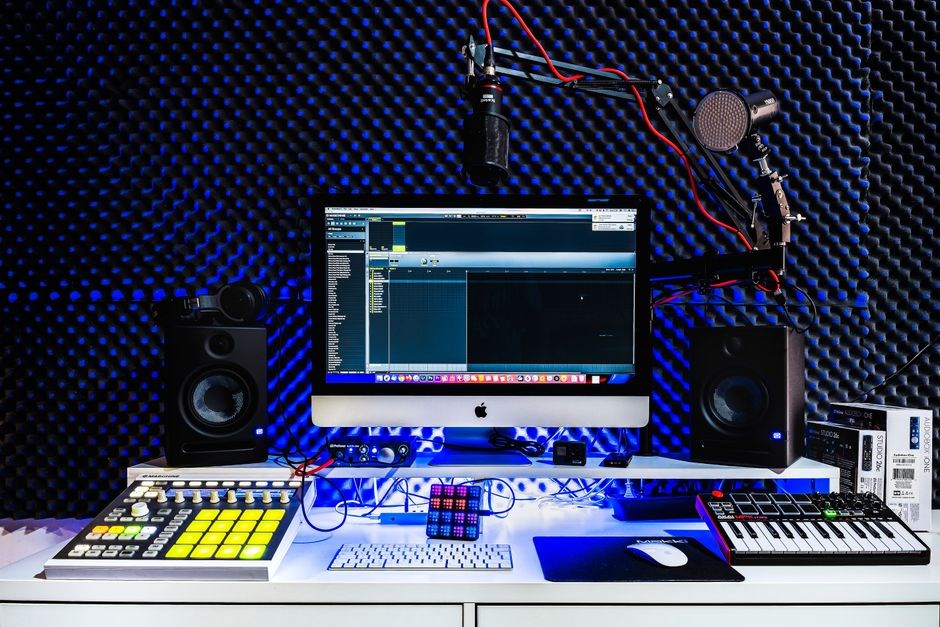
Use CCs to animate volume, pan, filter, and modulation. Program envelopes in the DAW’s MIDI editor, layer multiple CC tracks, and automate tempo changes; Combine step‑sequencing with real‑time play for expressive control. Add automation!
Using MIDI CCs for Expression and Automation
MIDI Continuous Controllers (CCs) grant real‑time modulation of instrument parameters—volume, pan, filter cutoff, vibrato, and more—directly from a keyboard or controller. By mapping a CC to a virtual instrument’s knob, a performer can shape dynamics without leaving the track. In a DAW, CC automation lanes appear beneath the MIDI clip; clicking the lane lets you draw curves that the software interprets as gradual changes. For expressive playing, use CC‑1 (modulation) to add subtle tremolo, CC‑7 for volume swells, and CC‑10 for pan shifts. Advanced users can script CC patterns: program a step‑sequencer that triggers CC‑74 (brightness) to sweep a synth’s filter over a bar, or layer two CC tracks to create a complex, evolving pad. When exporting, ensure the DAW’s “MIDI CC” export option is enabled so that the CC data travels with the MIDI file, preserving the performance’s nuance for other projects or collaborators. To further enhance control, many producers employ MIDI macros that bundle multiple CC changes into a single trigger, allowing a single knob to modulate volume, filter, and reverb simultaneously. Additionally, mapping CCs to a DAW’s automation lanes lets you record expressive gestures and then fine‑tune them with precision. This workflow preserves the human feel while ensuring consistency across mixes. and more.!!
Mixing MIDI Tracks
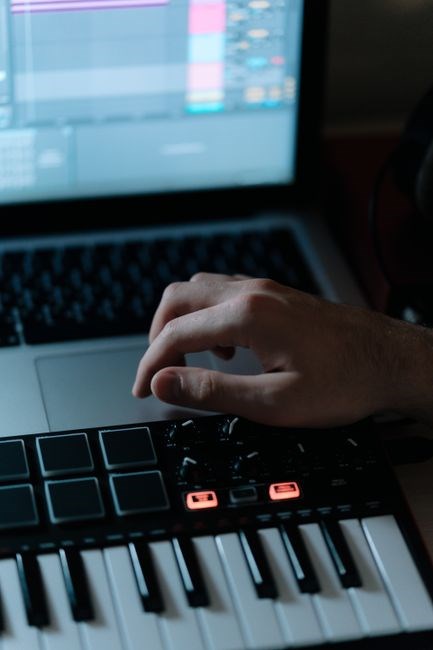
Balance each MIDI instrument by setting level, pan, and EQ. Use a subtle high‑pass on pads to clear the low end, and apply gentle compression to keep dynamics smooth. Automate volume fades for transitions, and keep the mix cohesive by matching tonal colors. Keep it tight.!!
Instrument Levels, EQ, and Compression for MIDI
When you mix a MIDI track, set the level so it sits in the mix. Use the fader to adjust volume, but watch peak meters to avoid clipping. Pan each instrument to create width and prevent masking. A kick stays centered; a synth pad can sit slightly left or right for space.
EQ carves frequency space. A low‑pass filter on a pad removes rumble, while a lead synth keeps the mix clear. Use a narrow boost or cut to highlight or tame problem frequencies. Sweep a 3‑dB boost from 20 Hz to 20 kHz for balance.
Compression controls dynamics and adds punch. Set a ratio (2:1 to 4:1) with a slow attack so transients pass. Release keeps the sound tight. For percussive MIDI, use a higher ratio (6:1) to help hits cut through. Sustained pads use a low ratio (1.5:1).
Automation is for changes. Automate volume to build tension, or use side‑chain compression to duck a pad when the kick hits. Side‑chain settings should be subtle; a 3‑dB reduction is enough. Keep the balance consistent and use tracks to compare levels.
Remember to keep the overall balance consistent. Use reference tracks to compare levels, and adjust automation as needed. A well‑mixed MIDI track should sit cleanly in the mix and support the arrangement. Use side‑chain compression for breathing, and experiment with parallel processing for depth. deep.!

Exporting and Sharing MIDI Projects
Export your session as a .mid file or render audio. Use “File → Export → MIDI” for sharing raw data, and “Bounce” for stems. Include tempo, key, and track names. Compress folder and upload to cloud services send via email now.
Exporting MIDI Files and Audio for Distribution
When you’re ready to share your project, the first step is to decide which format best serves your audience. For pure MIDI, choose .mid or .mxl if you need XML compatibility. Export settings should preserve tempo, key, and track names so collaborators can rebuild the session accurately. For audio, use the DAW’s bounce function. Select a sample rate that matches the target platform—44.1 kHz for CD, 48 kHz for video, or 96 kHz for high‑resolution archives. Bit depth matters too; 24‑bit gives headroom for mixing, while 16‑bit is standard for consumer playback. Dithering is essential when converting from 24‑bit to 16‑bit to avoid quantization noise.Use these steps for distribution now.!!
Metadata enhances discoverability. Embed artist, title, and copyright information in the file’s header. Many DAWs allow you to add custom tags that will appear in media players and streaming services. When exporting audio, consider adding a fade‑in or fade‑out to avoid abrupt starts or stops. For long tracks, use a multi‑pass export to reduce clipping.
Finally, test the exported files on multiple devices—desktop, mobile, and streaming hardware to ensure consistency. A quick quality check on a headphone, a car stereo, and a laptop speaker will catch any anomalies before you hit “publish.”