
A10 Pro Earbuds Manual Overview
This comprehensive guide for your A10 Pro Wireless Earbuds outlines critical information. It covers setup, operation, maintenance, troubleshooting, and specifications. Available as a digital document, it provides detailed guidance for optimizing performance and understanding LED indicators and all features.
Purpose of the A10 Pro Earbuds Manual
The A10 Pro Earbuds Manual serves as an indispensable resource for every user seeking to maximize their audio experience. Its primary purpose is to provide comprehensive, detailed guidance on all aspects of the A10 Pro Wireless Earbuds. This includes fundamental steps from initial setup to advanced operational understanding, ensuring users can fully harness the capabilities of their device. The manual meticulously covers essential information regarding the earbuds’ specifications, allowing for a deeper insight into their technical design and performance parameters. It is specifically crafted to empower users with the knowledge required for effective maintenance, promoting longevity and optimal functionality of the earbuds over time. Furthermore, the manual acts as a crucial first point of reference for resolving common issues, offering clear troubleshooting steps to address potential power-on or charging problems. By demystifying the various features and functions, such as interpreting LED indicators and understanding different working modes, the manual ensures a seamless and satisfying user journey. It aims to eliminate guesswork, providing clear instructions for every interaction with the A10 Pro, from basic use to intricate settings, thereby enhancing the overall enjoyment and utility of these advanced wireless headphones.
Contents Covered in the A10 Pro Manual
The A10 Pro Earbuds Manual comprehensively details every aspect necessary for an optimal user experience. It typically includes an initial overview section, providing a general introduction to the product’s design and core functionalities. Users will find extensive guidance on the initial setup process, ensuring a smooth start from the moment of unboxing. The manual meticulously covers operational instructions, explaining various earphone working modes and functions of the A10 Pro charging case, including automatic power-on. A significant portion is dedicated to understanding the A10 Pro LED indicators, vital for discerning the earbuds’ current operational status. Furthermore, the document outlines essential maintenance procedures, designed to preserve the longevity and peak performance of your device over time. For common user challenges, a dedicated troubleshooting section offers solutions for issues like earbuds not charging or power-on problems. Technical specifications are also provided, giving users deeper insights into the product’s design and technical capabilities. Information regarding pairing procedures, including clearing previous records, is thoroughly explained. The manual serves as the definitive resource for accessing and utilizing all features, from initial connection to advanced functionalities, ensuring users can confidently navigate their A10 Pro Earbuds.
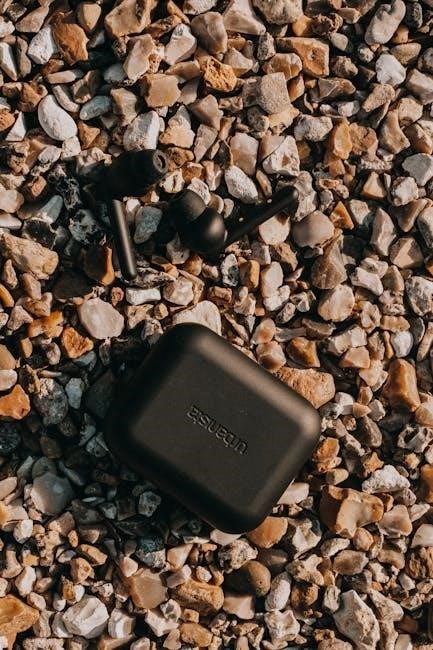
Unboxing Your A10 Pro Earbuds
Upon opening your A10 Pro package, you’ll discover all essential components. This initial step involves taking out the earphones and other accessories. Ensure everything listed in the manual is present. This section prepares you for identifying each item.
What’s Inside the A10 Pro Package
Upon acquiring your A10 Pro Earbuds, the unboxing experience reveals a carefully curated set of items designed for immediate use and convenience. The primary components you will find within the package are, of course, the A10 Pro wireless earbuds themselves, featuring both left and right units. These are typically nestled securely within their dedicated charging case, which serves as both a protective enclosure and a portable power source. A crucial element often overlooked but essential for operation is the user manual. This comprehensive document, sometimes a quick start guide, provides vital instructions for initial setup, pairing, and understanding the device’s various functions and indicators. Additionally, a USB charging cable is invariably included, allowing you to replenish the power of the charging case and subsequently the earbuds. Depending on the model, you might also discover a selection of different-sized ear tips, ensuring a comfortable and secure fit for various users. Inspecting all these items upon unboxing is an important first step to confirm package completeness and prepare for the initial setup process. Ensure no accessories are missing before proceeding.
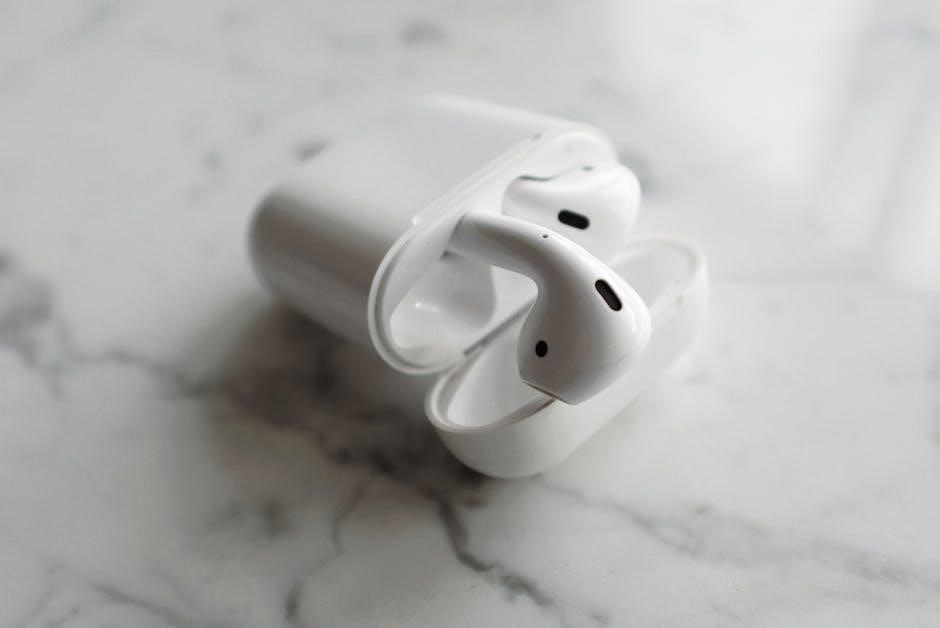
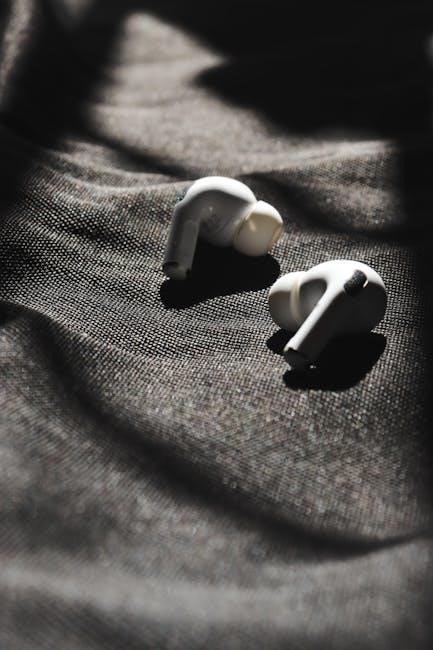
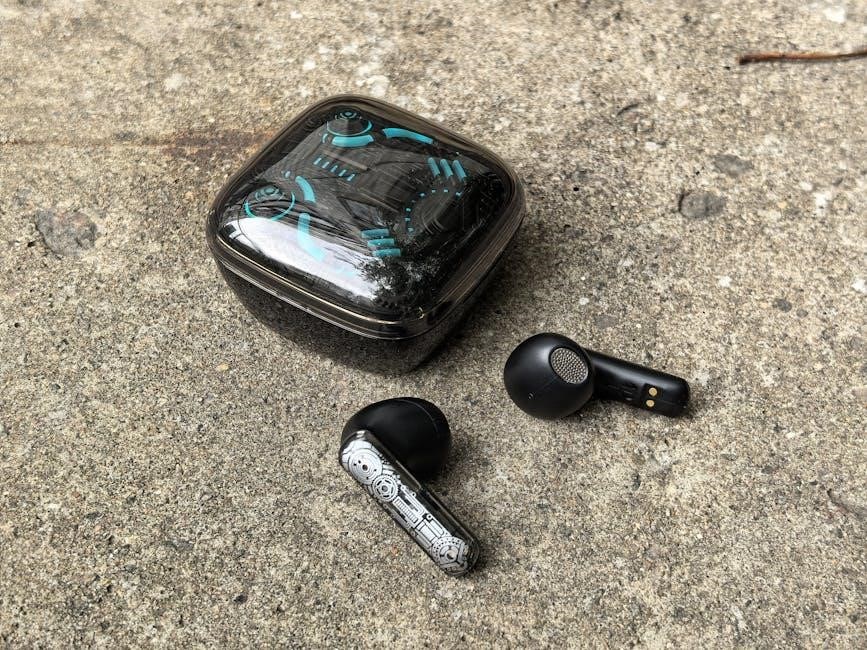
Identifying A10 Pro Earbud Components
Understanding the physical components of your A10 Pro earbuds and their charging case is essential for effective use. Each A10 Pro earbud features a main body designed to fit comfortably in your ear, typically equipped with soft, replaceable ear tips for optimal sound isolation and comfort. On the outer surface of each earbud, you will find touch-sensitive areas or physical buttons, which serve for various controls such as playback, call management, and activating voice assistants. Integrated into the earbuds are small LED indicators; these lights communicate important statuses like power, pairing mode, and charging. Beneath the surface, microphones are strategically placed for clear voice capture during calls. The earbuds also have metallic charging contacts that align with corresponding pins inside the charging case.
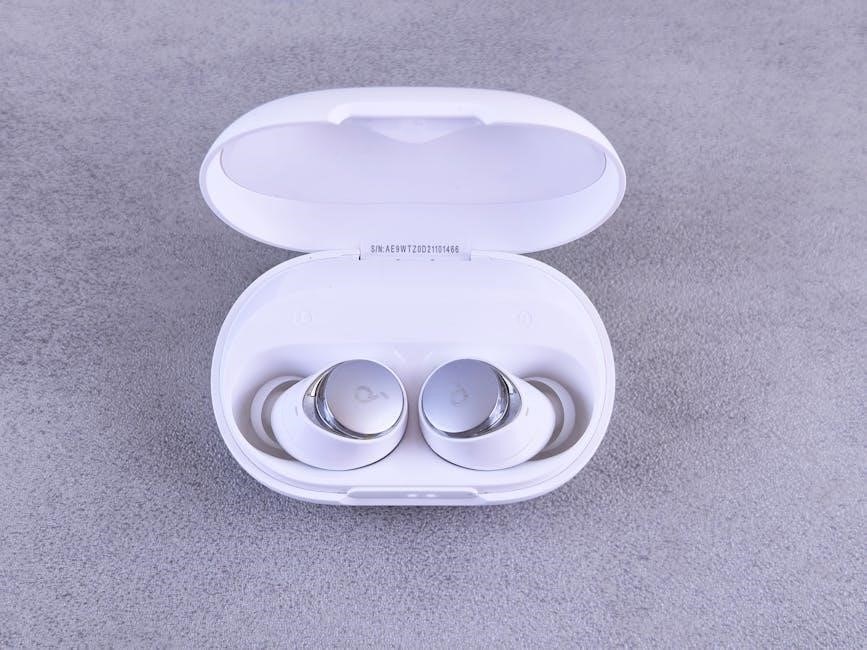
The charging case itself is a crucial component; It typically includes a hinged lid that protects the earbuds and facilitates their secure storage. Inside, custom-molded cradles perfectly house the left and right earbuds, ensuring they connect with the charging pins. On the exterior of the case, you’ll usually find a USB-C or Micro-USB charging port for replenishing its internal battery. LED indicators on the case signal its own battery status and the charging status of the earbuds within. Familiarizing yourself with these distinct parts will enhance your overall experience.
Initial Setup of A10 Pro Earbuds
To begin, ensure your A10 Pro earbuds and their charging case are fully powered. The initial setup involves charging, then powering on for the first time, often by simply opening the case. This prepares them for seamless connection and optimal performance with your preferred device.
Charging the A10 Pro Earbuds and Case
Proper charging is fundamental for the optimal performance and longevity of your A10 Pro earbuds and their dedicated case. To power up, first connect the charging case to a standard USB power source using the appropriate cable. The charging bin’s main function is to store power, making it essential to keep the case charged itself. The charging case is equipped with a 300mAh Li-Ion battery, providing multiple recharges for the earbuds when you’re on the move.
Once the charging case has sufficient power, carefully place your A10 Pro earbuds into their designated slots within the case. Each earbud features a 40mAh Li-Ion battery. They will automatically commence charging upon proper insertion. Observe the LED indicators on both the earbuds and the charging case; these lights provide visual feedback on the current charging status and battery levels. For the initial setup, it is highly recommended to fully charge both the case and the earbuds before their very first use. This ensures battery calibration and guarantees the best possible experience right from the start, minimizing any power-related issues during operation.

First Time Power On for A10 Pro
For the initial power on of your A10 Pro earbuds, there are a couple of straightforward methods to activate them for the very first time after they have been fully charged. One common approach is to simply open the charging case. Upon opening the lid, the earbuds are designed to automatically power on and enter into their Bluetooth pairing mode, indicated by specific LED lights. This automatic power-on feature streamlines the initial setup process, allowing for quick connection to your device.
Alternatively, if the earbuds are outside the charging case and powered off, you may need to manually initiate the first boot. In this scenario, locate the power button on each earbud and press and hold it for approximately 3 seconds. This action will activate the earbuds. Following this manual power-on, the earbuds will then typically proceed into a pairing mode, ready to be discovered by your smartphone or tablet. During the first boot, some models may also offer a language selection option, guiding you through an initial setup prompt. Always ensure the earbuds have sufficient charge for a smooth first-time activation experience. This initial step is crucial for establishing the foundation of their operation.
Automatic Power On from Charging Case
The A10 Pro earbuds are designed for effortless activation through their charging case. This intelligent feature ensures a seamless start to your listening experience. When you simply open the charging case, the earbuds will automatically power on. There’s no need to press any buttons or manually activate them. Upon opening the lid, the earphones instantly transition into a discoverable Bluetooth pairing mode, making them ready to connect to your device immediately. This automatic process is a core convenience, streamlining the initial setup after charging. The LED indicators on the earbuds will confirm their powered-on status and readiness for connection. This functionality allows for quick pairing with your smartphone, tablet, or any other Bluetooth-enabled audio source, bypassing any complex manual steps. It ensures your A10 Pro earbuds are always prepared for immediate use, enhancing your daily audio interactions. This user-centric design simplifies the initial step of using your A10 Pro headset every time, allowing you to focus on enjoying your audio content without delay.

Pairing A10 Pro Earbuds with Your Device
Pairing your A10 Pro earbuds is easy. Open the charging case; they automatically power on and enter pairing mode. On your device, enable Bluetooth. Search for “A10 Pro” in your Bluetooth settings and select it to connect for immediate audio enjoyment.
Entering Bluetooth Pairing Mode
To initiate the pairing process for your A10 Pro earbuds, the first crucial step is to ensure they are ready to be discovered by your desired device, such as a smartphone or tablet. The A10 Pro earbuds are designed for user convenience, often automatically entering Bluetooth pairing mode upon being activated correctly. The primary method involves interacting with the charging case. Simply open the lid of the charging case. Once the case is open, or if you take the earphones out from the case, the A10 Pro earbuds will automatically power on. This automatic power-on sequence simultaneously triggers their entry into Bluetooth pairing mode. You will typically notice a specific LED indicator pattern on the earbuds, signaling that they are now actively searching for a device to connect with. This eliminates the need for manually pressing a power button or holding down any controls on the earbuds themselves to force them into discovery mode, streamlining the initial setup experience significantly. This intuitive design ensures a hassle-free transition from unboxing to ready-to-pair status, making it straightforward for users to proceed to the next step of connecting to their mobile device.
Connecting A10 Pro to a Smartphone or Tablet

To connect your A10 Pro earbuds to a smartphone or tablet, first ensure the earbuds are in pairing mode. This typically occurs automatically when you open the charging case and remove the earphones, as they power on and immediately enter a discoverable state. With your A10 Pro earbuds ready to pair, pick up your mobile device.
On your smartphone or tablet, navigate to the system settings and locate the Bluetooth option. Enable Bluetooth to allow your device to scan for nearby available Bluetooth accessories. A list of discoverable devices will appear on your screen. Search for and select “A10 Pro” from this list. It is essential to choose the correct device name to establish a successful connection. Tap on “A10 Pro” to initiate the pairing process. Your smartphone or tablet will then proceed to connect with the earbuds. Once successfully paired, you may hear an audio confirmation from the earbuds, and your device’s Bluetooth settings will display “A10 Pro Connected” or “Paired.” This finalizes the connection, enabling you to enjoy high-quality audio wirelessly.
Clearing A10 Pro Earbud Pairing Records
Clearing the pairing records on your A10 Pro earbuds is crucial for troubleshooting persistent connectivity issues, preparing them for a new device, or resolving unexpected pairing glitches. This action completely erases the earbuds’ memory of all previously connected Bluetooth devices. It provides a clean slate, ensuring a fresh start for future connections and resolving conflicts. This is often the first step when struggling to connect to a familiar device or setting up with an entirely new one.
To clear A10 Pro earbud pairing records, ensure both earbuds are powered on. While in the active power-on state, swiftly perform a “5-click” action on any side. This means pressing the multi-function button on one earbud five times in rapid succession. Upon successful execution, the earbuds will typically indicate that pairing records are cleared, often with a specific LED flash or audible prompt. The headset will then power off, signifying all prior pairing information is erased. You can then proceed to re-pair your A10 Pro earbuds as if they were brand new, following the initial setup to connect them to your desired smartphone or tablet.
Operating Your A10 Pro Earbuds
This section guides you through the daily use of your A10 Pro earbuds. It covers understanding various earphone working modes, interpreting LED indicators for status updates, and effectively utilizing the charging case functions for optimal performance and convenience. Master your device’s full capabilities.
Understanding Earphone Working Modes
Understanding your A10 Pro earbuds’ working modes is essential for optimal functionality.
Upon removing them from the charging case, they automatically power on and enter Bluetooth pairing mode, allowing connection to new devices or re-linking with paired ones.
Once connected to your smartphone, they transition into connected mode, ready for audio streaming, call management, and touch controls for playback and volume.
If connected but inactive, they enter standby mode, a low-power state conserving battery while maintaining an active link for instant readiness.
Placing them into the charging case initiates charging mode, where the case replenishes batteries.
The A10 Pro also supports mono mode, enabling independent use of a single earbud for calls or audio while the other charges. For troubleshooting, a quick 5-click on an earbud (when powered on) triggers clear pairing mode, erasing old device records for a fresh attempt.
Interpreting A10 Pro LED Indicators
The LED indicators on your A10 Pro earbuds and case are vital for understanding their current status. Interpreting these signals ensures efficient operation.
When earbuds are placed in the charging case, an LED illuminates, confirming active charging. This light typically turns off or changes color upon full charge, indicating readiness. The charging case also features its own LED array, displaying remaining battery capacity, crucial for knowing when the case needs recharging.
For power-on or entering Bluetooth pairing mode, earbud LEDs flash rapidly, often alternating colors. This quick blinking confirms discoverability and readiness for connection. Once a stable link is established, the indicator transitions to a slower pulse or continuous glow, confirming successful pairing and active use.
A distinct LED pattern, like a flashing red light, indicates a low earbud battery, prompting immediate recharging. These visual cues allow monitoring your A10 Pro’s operational state, ensuring uninterrupted audio enjoyment daily.
Using the A10 Pro Charging Case Functions
The A10 Pro charging case is integral for earbud functionality and convenience. Primarily, it’s a portable power source, automatically charging earbuds once placed inside. This “charging bin” is crucial for extended use, offering multiple recharges on the go without external power, ensuring uninterrupted listening.
Beyond charging, the case streamlines power-on and pairing. Opening it and taking out A10 Pro earbuds automatically powers them on. Simultaneously, they enter Bluetooth pairing, becoming instantly discoverable by your device. This automatic activation removes manual power controls, significantly enhancing user experience from the moment of access for immediate use.
Moreover, the charging case offers vital protection, safeguarding earbuds from damage, dust, and loss when not in use. Its smart design ensures secure storage during recharging. Maximizing A10 Pro performance and portability relies on effectively using these core charging case functions and comprehending their crucial daily role.
A10 Pro Earbuds Troubleshooting and Maintenance
This section guides you through resolving common issues with your A10 Pro earbuds. Learn how to fix “not charging” and “power on” problems, ensuring reliable operation. Comprehensive maintenance tips are also provided to extend the lifespan and maintain optimal performance of your device.
Resolving A10 Pro Not Charging Issues
If your A10 Pro earbuds are not charging, several methodical steps can help diagnose and resolve the issue. First, ensure the charging case itself has sufficient power, indeed; connect it to a reliable power source using the correct USB cable. Check the LED indicators on the case to confirm it’s receiving a charge. Next, verify that both earbuds are properly seated within their respective slots in the charging case. Misalignment can definitely prevent the charging contacts from connecting. Gently clean the charging pins on both the earbuds and inside the case with a dry cotton swab to thoroughly remove any dust or debris that might be obstructing the connection. Try using a different charging cable and a different power adapter or USB port to rule out a faulty accessory or power source. Sometimes, a soft reset of the earbuds or the charging case can resolve minor glitches. If the issue persists after these checks, inspect for any visible physical damage to the charging ports or pins. Consulting the full A10 Pro manual for specific troubleshooting flowcharts or factory reset instructions related to charging problems is also recommended. This systematic approach helps pinpoint the exact cause.
Addressing A10 Pro Power On Problems
If your A10 Pro earbuds are failing to power on, a systematic troubleshooting approach is essential to diagnose the problem. Primarily, ensure the earbuds possess an adequate charge. Place both earbuds securely back into their charging case, confirming the case itself has sufficient power, indicated by its LED lights. A depleted battery is a frequent culprit behind power-on failures. The A10 Pro earbuds are designed to automatically power on when removed from their charging case, instantly entering pairing mode, as per user documentation. If this automatic activation does not occur, try a manual power-on sequence; some models require pressing and holding a specific control or power button for approximately three seconds. Verify that the touch control surfaces, if present, are clean and free from moisture or debris that could interfere with operation. Occasionally, simply reinserting the earbuds into the charging case, closing it, and then reopening it can reset internal sensors and initiate the automatic power-on sequence. Should these attempts prove unsuccessful, consult the comprehensive user manual for specific power-on troubleshooting steps or instructions on performing a hard reset, which can often resolve underlying software glitches preventing startup.